How Stripe and Next.js Make Accepting Online Payments Easy

Antonio Thomas /
3 min read
Accepting online payments is an essential feature of many web applications.
There are many things to manage when it comes to developing a checkout process:
- Customer payment profiles
- Checkout cart state
- Subscription status
- Billing method expiration dates
- Failed payments
Stripe checkout will take care of managing and reporting those things for you.
This post covers
- Why we chose Stripe checkout
- The packages we used
- Creating a basic Next.js app
- Adding Stripe Checkout
This article covers parts of Next.js and API routes. A basic understanding of React and JavaScript will help you follow along.
Why We Chose Stripe checkout
Stripe sums this up for us. It provides us with "a prebuilt, hosted payment page optimized for conversion. Whether you offer one-time purchases or subscriptions, use Checkout to easily and securely accept payments online."
The checkout sessions are also responsive and optimized for mobile, tablet, and desktop.
Although the forms are prebuilt, you can adjust color schemes and logos to fit your brand better.
A few of the features Stripe handles for you:
- Address auto-complete
- Real-time card validation
- Card brand identification
- Google Pay
- Apple Pay
Getting Started
There are two steps we'll need to take to get started:
- Create a Stripe account
- Create a new Next.js project
You can signup for an account on their website. After you complete the registration, follow the prompts to activate your account fully.
After registering for your Stripe account, you can start working with Next.js. Next.js is one of the most popular React frameworks. It allows flexible rendering options and many features.
We create our new Next.js project by using the following command.
npx create-next-app stripe-checkout-tutorial
cd stripe-checkout-tutorial && npm run dev
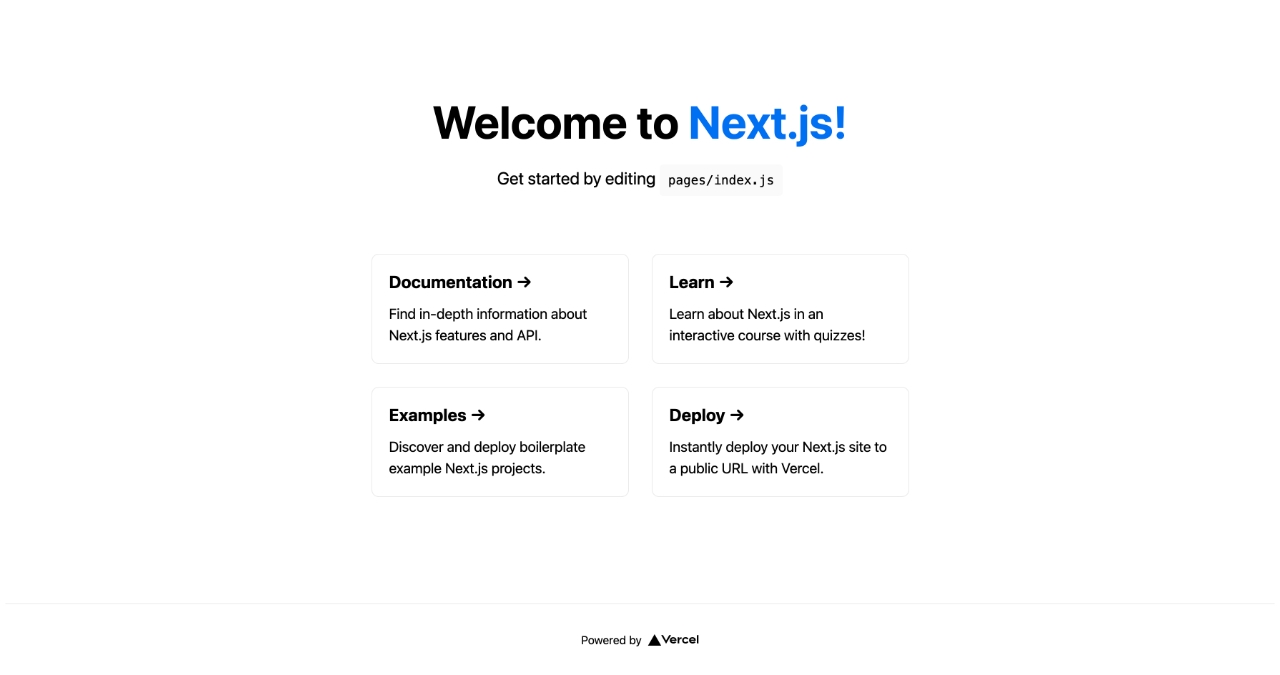
Your new Next.js app will be running on http://localhost:3000/. Your home page should look like this.

Setting up Our Next.js Project
After we initialize our project, we can clean up a bit and add a few styles.
If you read my last post, you know I love styled-compnents. That's what I'll be using for this tutorial. This post isn't about CSS and styling, and I won't go into CSS details.
Feel free to use any styling you'd like; I'll be using some basic styles to make our card and button presentable.
After refactoring our page, here's how our code should look.
import * as S from '../styles/checkout'export default function Home() {const features = ['feature one', 'feature two', 'feature three']return (<S.CheckoutContainer><S.ProductCard><S.ProductDetails><h3>Test Product</h3><h5>$10.99 / month</h5><ul>{features.map((feature) => (<S.Feature key={feature}>{feature}</S.Feature>))}</ul></S.ProductDetails><S.Button role='link'>Choose Plan →</S.Button></S.ProductCard></S.CheckoutContainer>)}
And you should see this on the screen.

Adding Stripe to Our Project
There will be a few steps that we'll need to take care of first:
- While in development mode, you can put your stripe account in test mode. From there, you can create your first test product.
- Once you have added your test product, we can add the needed stripe packages to our project.
npm install stripe @stripe/stripe-js
- After installing the packages, we'll create a few of helpers to interact with Stripe throughout our project.
import { loadStripe } from '@stripe/stripe-js'let stripePromiseconst getStripe = () => {if (!stripePromise) {stripePromise = loadStripe(process.env.NEXT_PUBLIC_STRIPE_PUBLISHABLE_KEY)}return stripePromise}export default getStripe
According to the github documentation, we must use this helper function to be PCI compliant.
We also need to add a publishable key to our environment variables, which you'll find in the developer section of your Stripe account under API Keys.
To learn more about using environment variables in your Next.js apps, please refer to their docs. Also, make sure to add your env files to your gitignore.
Add the following in our stripe file:
import Stripe from "stripe";const stripe = new Stripe(process.env.STRIPE_SECRET_KEY, {// check your api versionapiVersion: "2020-08-27",});export default stripe;
You can find your Stripe secret key under your publishable key, but you will have to select the "reveal key."
Creating Our Checkout Session Endpoint
Next.js allows you to write API routes directly in your project, and we're going to take advantage of that feature to build our route.
import stripe from '../../utils/stripe'export default async function checkoutSessionHandler(req, res) {const DOMAIN = req.headers.origin// create new stripe customerconst newCustomer = await stripe.customers.create({email: 'test@mail.com',description: 'New Customer',})const prices = await stripe.prices.list({lookup_keys: [req.body.lookup_key],expand: ['data.product'],})// create stripe sessionconst stripeSession = await stripe.checkout.sessions.create({billing_address_collection: 'auto',payment_method_types: ['card'],customer: newCustomer.id,line_items: [{price: prices.data[0].id,quantity: 1,},],mode: 'subscription',subscription_data: {trial_period_days: 30,},// enter your redirect url for each statesuccess_url: `${DOMAIN}/success`,cancel_url: `${DOMAIN}/fail`,})res.status(200).json({ sessionId: stripeSession.id })}
A lot is going on here, so let's break it down:
- Import the instance of Stripe that we created earlier.
- Use Stripe to create a new customer that we'll use to link to the session. We can use this customer object to link to users stored on the database. That will allow you to manage customer subscriptions better.
- Create our stripe checkout session. There are many options in the object, so review the documentation for a detailed list.
- Send the sessionId back so we can redirect on the front-end.
Using Our Checkout Session
Back in our index page, we will add an onClick to our button, which will redirect our customer to Stripe Checkout.
import { useState } from 'react'import * as S from '../styles/checkout'import { fetchPostJSON } from '../utils/fetchPostJson'import getStripe from '../utils/getStripe'export default function Home() {// Keep track of loading stateconst [loading, setLoading] = useState(false)const features = ['feature one', 'feature two', 'feature three']const onClickHandler = async (e) => {e.preventDefault()setLoading(true)// use helper function to call our apiconst response = await fetchPostJSON('api/checkout-session', {quantity: 1,})if (response.status === 500) {console.error(response.message)return}// use stripe to redirect to our checkout session with the id from our apiconst stripe = await getStripe()const { error } = await stripe.redirectToCheckout({sessionId: response.sessionId,})console.warn(error.message)setLoading(false)}return (<S.CheckoutContainer>{loading ? (<S.Loading>...loading</S.Loading>) : (<S.ProductCard><S.ProductDetails><h3>Test Product</h3><h5>$10.99 / month</h5><ul>{features.map((feature) => (<S.Feature key={feature}>{feature}</S.Feature>))}</ul></S.ProductDetails><S.Button disabled={loading} onClick={onClickHandler} role='link'>Choose Plan →</S.Button></S.ProductCard>)}</S.CheckoutContainer>)}
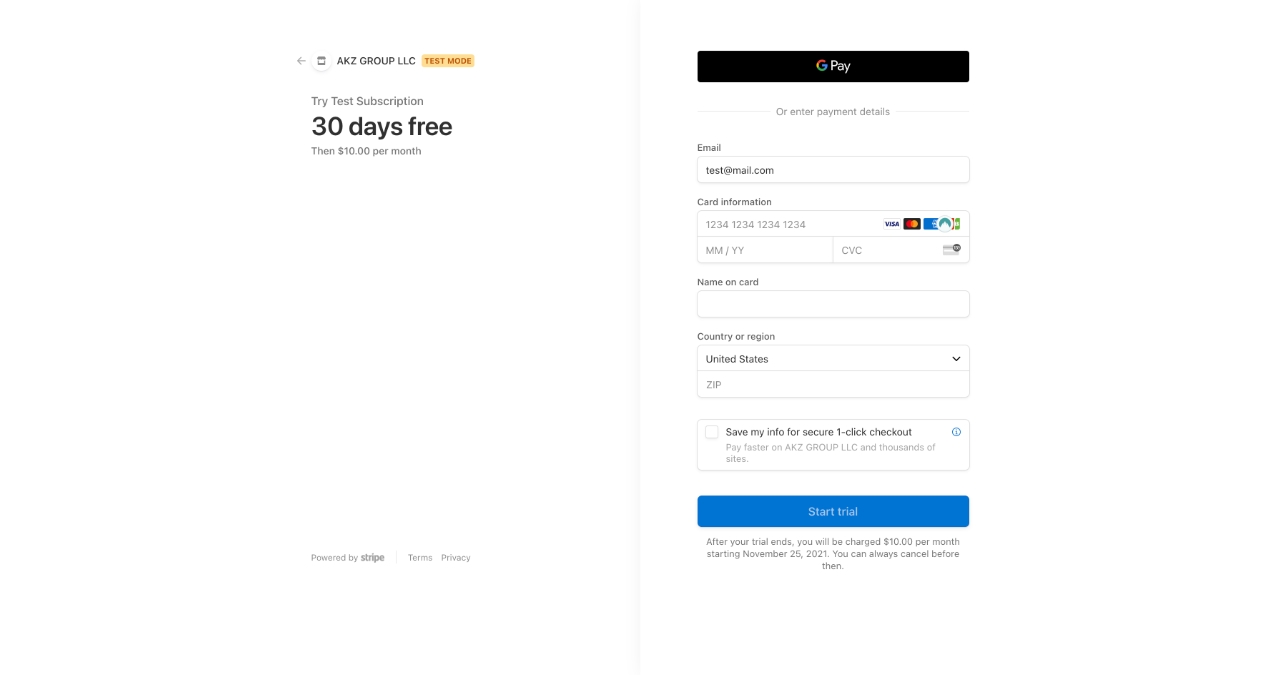
We've added a few things here, but we want to pay close attention to our button. We add an onClickHandler so that we can redirect the customer to a Stripe Checkout session. If all goes well, we should see a checkout page on the screen.

Wrapping Up
This tutorial was a basic example of implementing Stripe Checkout into your application. We only scratched the surface of what you can do with Stripe.
You can find the code at this 👉🏿 repo
If you give Stripe Checkout a try, contact me on Twitter and let me know how it went for you.
Also, if you found this helpful, feel free to give it a share.
Before You Go...
Subscribe for access to new posts and emails about web development.
Share it on Twitter